There’s nothing quite like the ambiance of a flickering candle. Whether you’re using them to relax after a long day or to set the mood for a romantic evening, a flickering candle can help to create a wonderful atmosphere. If you want to get the most out of your candle, there are a few candle care tips and tricks that you can do.
1. Remember to trim your wick.
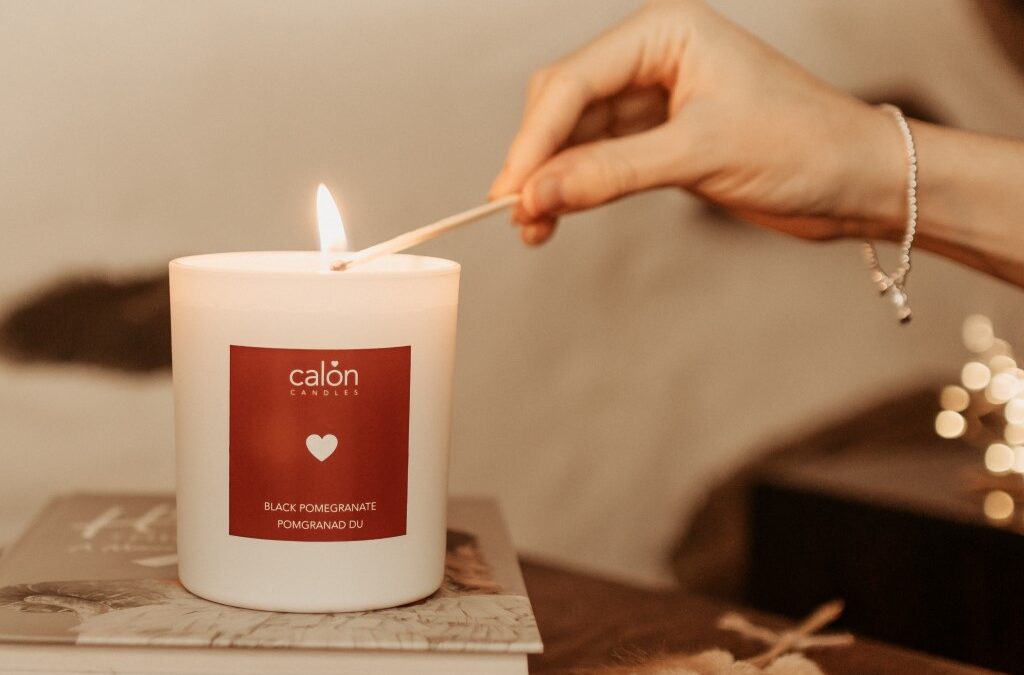
At Calon, I hand-pour each and every candle myself and I ensure that the wick is the perfect length for when you light the wick for the very first time. After each burn (and once the candle has cooled fully) make sure you take a few moments to trim the wick to around 5mm before you light it again. If the wick is too long, it can cause the flame to flicker aggressively and produce soot, which can discolour the glass and doesn’t look great either! In contrast, a short wick helps to create a clean, steady flame and your candle will continue to burn beautifully.
Not routinely trimming your wicks can result in what is known as “mushrooming” to us chandlers. Mushrooms is candle-making are the clubbing shape that can appear on the end of the wick that is a result of an excessive build up of carbon. Mushrooms left for too long and un-trimmed wicks will increase the size of the flame meaning an unstable flame and too much the heat from the wick which in turn you will use of your candle too quickly and result in lots of sooting around the jar.
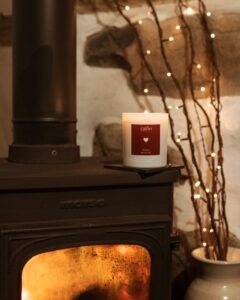
Fireside / Wrth y Tân candle – our most popular Winter candle
2. Keep your candle away from drafts and sources of heat.
When it comes to actually burning the candle, make sure you keep the flame away from any drafts. While a candle flame needs oxygen to stay lit, drafts can cause the flame to flicker too much and may even blow it out entirely. In addition, excessive heat – such as placing on a sunny windowsill or an a radiator – can cause the wax to melt, discolour, as well as making the surface uneven and difficult to light.
Note: This pic was taken by my photographer purely for my product pics as this scent is called “Fireside” (Wrth y Tân in Welsh) and then removed… – it is not recommended to place a lit candle on top of a wood-burning stove or any other form of heat. (The pic looks good though, right?)
3. Make sure you burn the candle for long enough each time.
Now this can vary between different candle brands depending on the type of wax used and the ratio of wax to fragrance. It is really important to burn the candle for long enough each and every time so as to allow the wax to melt all the way to the edge of the container. This will help to create an even layer of wax and prevent tunnelling from occurring.

Allow the wax to burn right to the edges of the candle glass. This could take up to 3 or 4 hours on the first burn.
Tunnelling is that annoying process where the middle of your candle burns down while the outer wax stays on the glass. I experiment with lots of different wick sizes and wax:oil ratios to make sure that the wick is the right size for the best scent throw however this is on the understanding that the candle is burned for long enough each time. As a rule of thumb, you should allow your candle to burn for an hour per inch of diameter wax on the first burn. On our signature candles, aromatherapy candles, occasion candles and amber glass candles, this equates to around 3 hours as a minimum. For our tins we recommend around 2 hours – this is due to their smaller size and the fact that the tins can get hotter than the glasses.This will ensure that your candle melts evenly across the top, creating an ideal pool of wax for future burns. With a little care and attention, you can avoid tunnelling and enjoy beautiful, evenly-burning candles.
And those are the three main tips and by following them, you can enjoy your candle to the fullest.
But wait…
So… you’ve followed these tips, but there is still a couple of centimetres of wax left at the bottom! Our sustainers and wicks are bought specifically for this reason. Our sustainers (the thing that holds the wick in place) have a slightly longer neck than many others that are available. The extra length means that the candle will extinguish itself a little earlier. This is purely a safety feature. Candles can get very hot as they struggle for oxygen at the bottom of a glass, and with little wax left to burn the wick can work overtime and excessive heat can damage the container. By ensuring there are still these couple of cms of wax means that the candle will extinguish itself before this happens. But don’t fret, you can still use this wax to get every last bit of scent from your candle purchase.
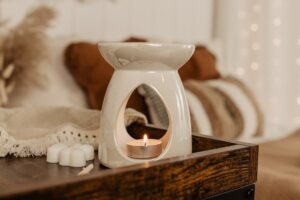
Our gorgeous pearlised Cariad burner in all its glory…
There are a couple of ways to remove the remaining wax but I find the quickest and easiest way is to boil the kettle and fill the candle glass up to the top with the boiling water. Once it has cooled the wax will have come free from the base and float to the top. At this point you can easily lift the wax out, break it up, and use the pieces for melts for a wax burner. This is a great way to get more use out of your candles and make them last longer. So next time you reach the bottom of a candle, remember that there’s no need to waste the wax – reuse it in a wax burner instead.
Don’t forget to repurpose your candle glasses!
Even after getting the last but of fragrance out, there are other ways that you can make the most of your purchase. Instead of throwing away our candle glasses there are many ways to recycle, reuse or repurpose them. You could use it as a vase for fresh flowers or decorations for a party, or how about turn it into a planter for a small succulent or cactus. Alternatively, the container could be used as a storage vessel for pens, pencils or other office supplies. With a little creativity, an empty candle container can be given new life, making it a more sustainable option than simply throwing it away. The possibilities are endless!